Up and running 3 - Using MTS
Once you have booted the system you can now use MTS. This part of the guide will show you how to sign on as a user and the basics of interactive usage of MTS.
Sign on to MTS
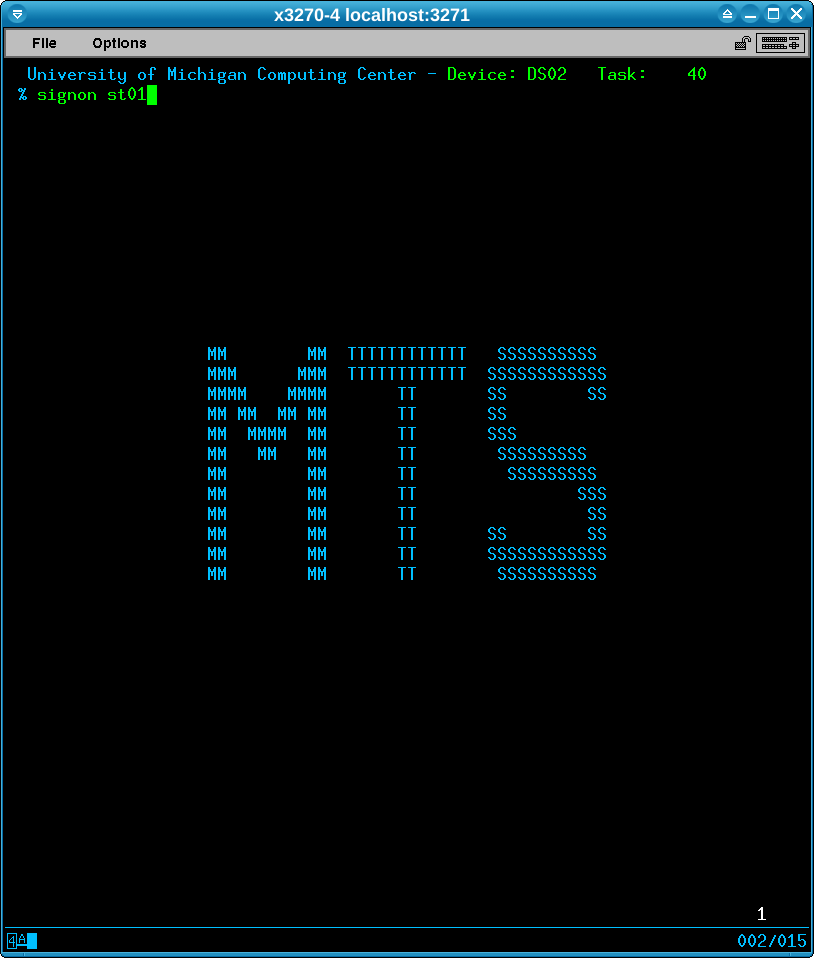
Switch to the user 3270 console and enter signon st01. User st01 is one of the regular user IDs set up as part of the distribution.
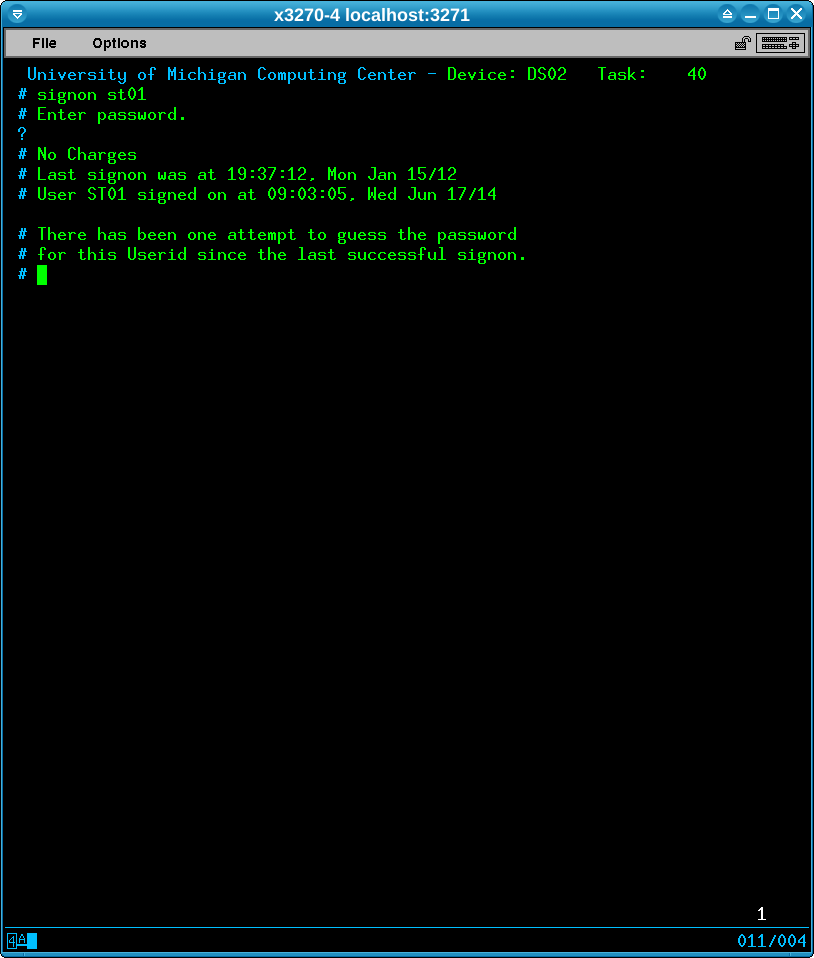
Enter the password at the next prompt; the password is the same as the user name st01. You can ignore the message about the previous login attempt as this appears to be a side-effect of the distribution..
The distribution comes with a set of regular user IDs, st01 to st09, password the same as the user name, and shared IDs with greater privileges such as mts or acc. For shared IDs you login with the ID eg mts, password aardvarks; the system will then prompt for a secondary sign-on with ID? to which you should enter one of the regular IDs such as st01 and its password at PW?.
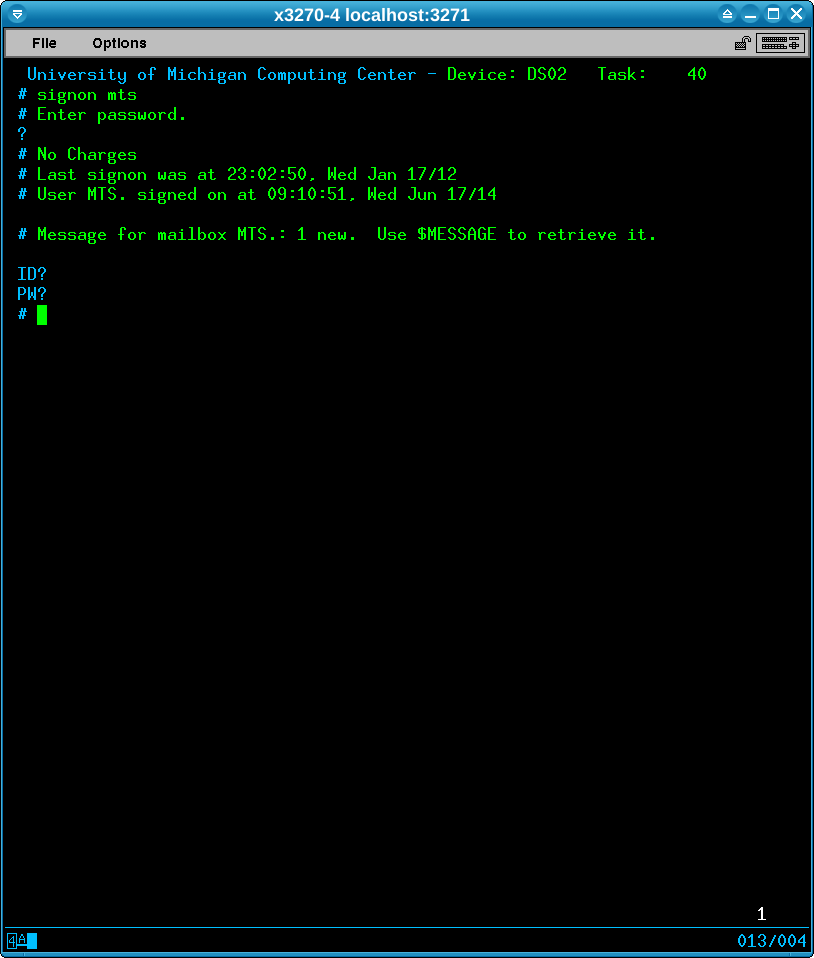
Privileged IDs can get direct access to hardware and system files. For this session we do not need this so just sign on as st01 for now.
MTS commands
For this first session, let’s look at some simple commands to put text in a file and display it on the screen.
Some important differences between files on MTS and other systems such as Windows or Linux:
- You need to create a regular file explicitly with the
$createcommand before using it. - Files are by default structured as a series of numbered lines rather than containing an arbitrary sequence of characters
- There is no concept of directories in MTS. Each user effectively only has a single place to put files. It is possible to grant access to your files so other users can access them.
So first let’s create a file called alpha. At the # prompt enter $create alpha; the output should be as below.
# $create alpha
  File "ALPHA" has been created.
Note that filenames and commands are not case sensitive; you could have also typed $CREATE Alpha. You can also leave off the $ when typing MTS commands
Next, let’s put some text into the file. To do this, rather than using a text editor, we will just take input from the keyboard and copy it to a file. To do this we can use the $copy command with *source* as the first parameter; *source* is a pseudo-device representing the keyboard in interactive sessions.
# $copy *source* alpha
>
Note that the prompt now changes to > to denote that the system is taking keyboard input inside a command. Enter some lines of text and end by typing $endfile which acts a special marker to tell MTS to stop taking input.
> Hello World!
> Welcome to MTS
> $endfile
Now let’s display the file you have created using the $list command. Note that the line numbers are displayed.
# $list alpha

       1     Hello World!
       2     Welcome to MTS
To show information about your files, similar to dir on Windows or ls on Unix, use the filestatus command. As this is a lot to type, we can use the facility in MTS that allows you to abbreviate command names - in this case we can type fi instead of filestatus.
# fi alpha
  ALPHA             Type=Line, IdleDays=36525, RPM=0, UseCnt=3, Owner=ST01,
   Create=Jun17/14, LastRef=Jun17/14, LastCatalog=Jun17/14,
   LastData=09:38:32 Jun17/14, FullAccess=Unlim Owner, None Others
Typing fi or filestatus without a filename would list all the files under the user ID.
Finally, let’s remove the file using the $destroy command. MTS will prompt for confirmation.
# $destroy alpha
  File "ALPHA" is to be destroyed.  Please confirm:
? yes
  Done.
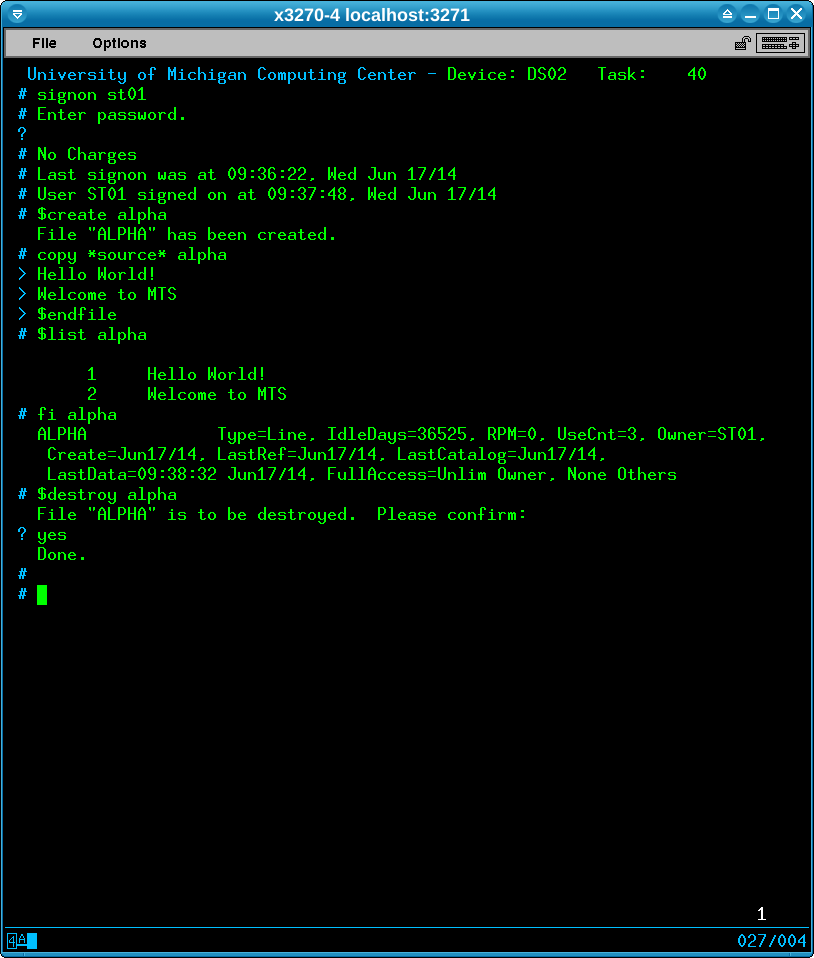
Your session so far should look similar to the below screenshot.
Getting help
MTS has a comprehensive built-in help system - type $help to access.

Use the numeric options at the bottom of the screen to navigate between pages - so in this case to look at MTS commands you would enter 3.
The 3270 terminal special key PA2 can be used to learn more about the help system itself. If an entry has more than one page you can use the + or - keys (followed by the Enter key) to navigate. Use the 3270 terminal PA1 key to exit.
Running other commands
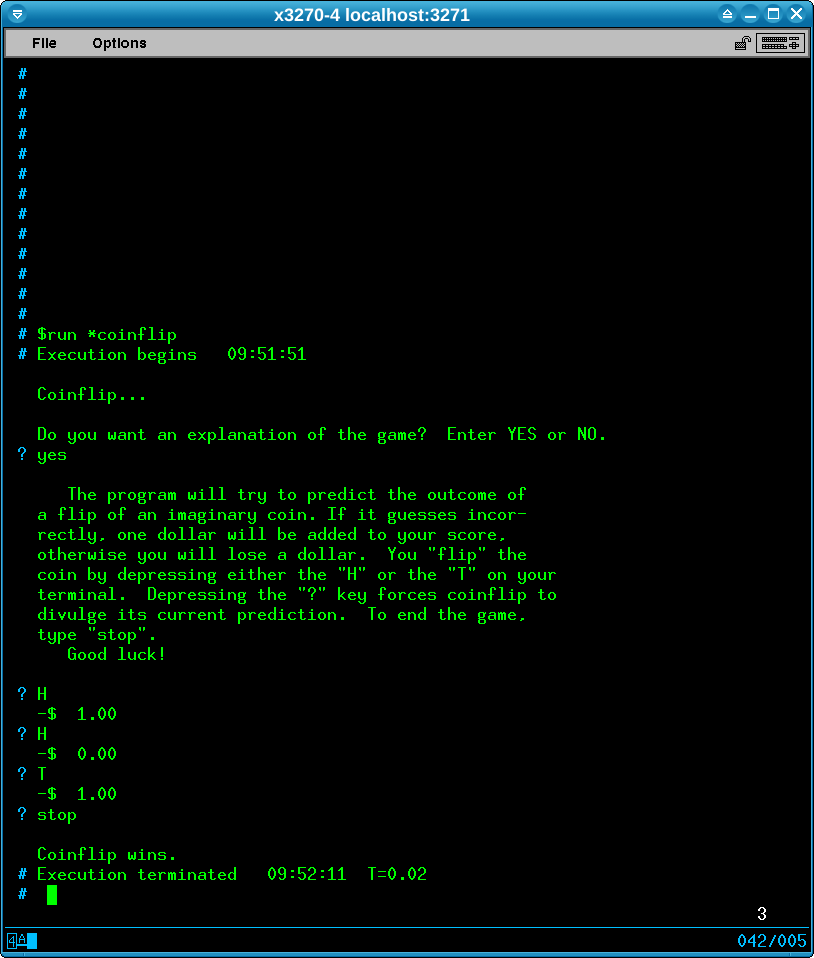
Apart from the built-in MTS commands, such as $destroy or $copy you can run other programs on the system. Many of these programs are available as public file IDs which start with a *. To run these you use the MTS $run command followed by the program. Below we show a simple heads-or-tails guessing program with the public file name *coinflip.
Signing off
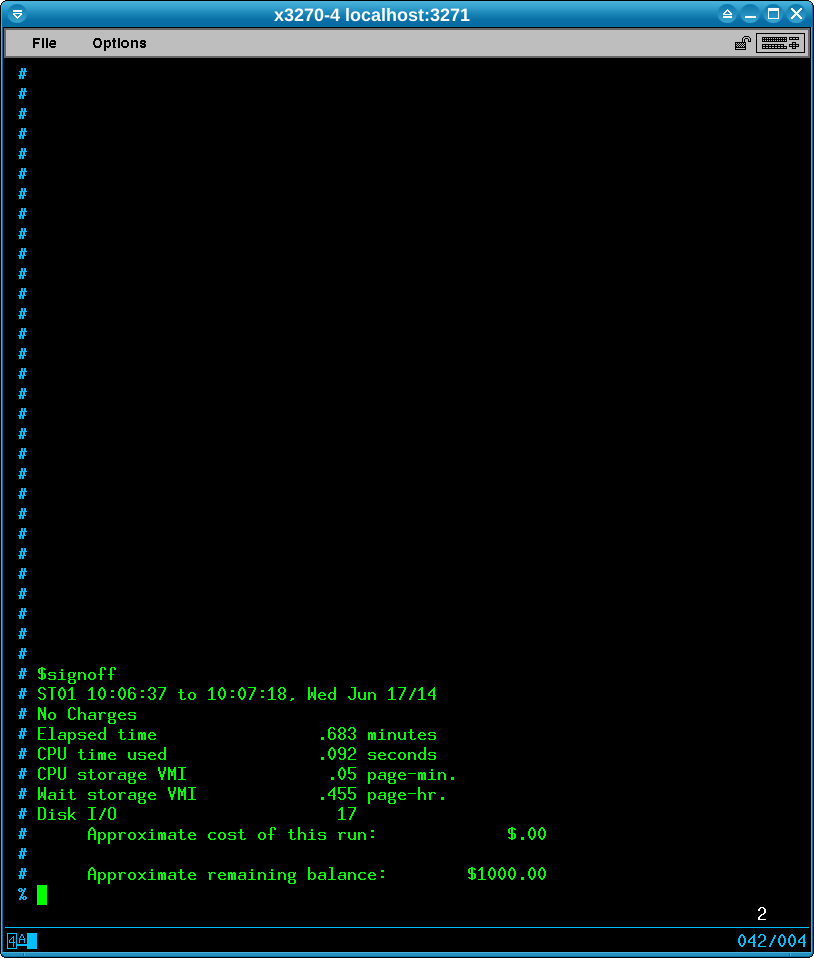
When you’ve finished using MTS type $signoff. MTS will print a summary of the CPU, disk and other resources used during the session before returning to the sign-on screen. Note that when run on a real mainframe there would be a charge for all resources used which would make you careful about what you consumed - but on your own PC everything is free.
Next steps
You can sign on and try more commands; you can also start other 3270 terminals and sign on.
Move on to part 4 of this guide to learn how to shut down MTS safely.
More information
The chapter ‘A Brief Overview of MTS’ in Volume 1 of the MTS documentation on Bitsavers is a good short tour of MTS and using the system.