Up and running 2 - Booting the system
OK, you’ve got the software and files installed in part 1. You can now boot the system for the first time.
Start Hercules and a 3270 console
- Go to the
d6.0Adirectory - Start Hercules
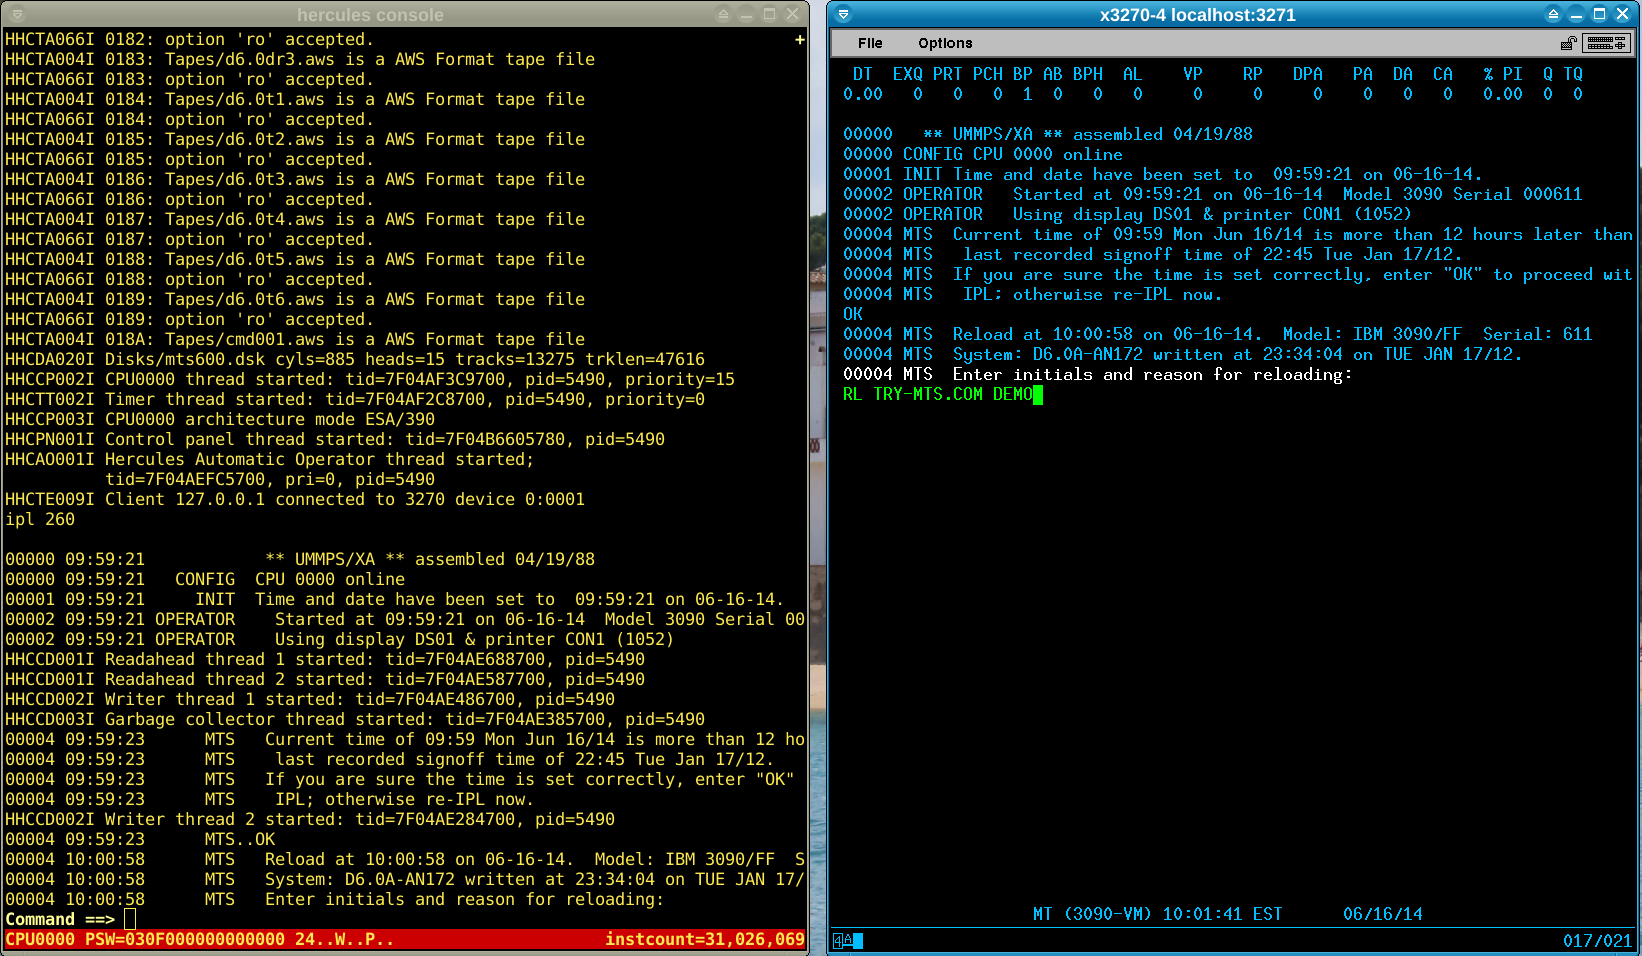
- The Hercules console should appear and show it has recognised the tapes and disks mentioned in the config file
- Start a 3270 terminal emulator and connect to
localhost:3270. This will act as the MTS operator’s console. It will display the Hercules logo to show it is connected to Hercules but no operating system is running on the emulator. - The screen should now look something like the below; here I have the Hercules console on the left and the operator’s console on the right.

Boot from the emulated disk
- From the Hercules console, issue the command
ipl 260. IPL stands for Initial Program Load and will tell the emulator to boot from the disk known as device 260. - If everything is working correctly, a message should appear on the 3270 terminal asking if you want to load the system.

Start the boot process
- Switch over to the 3270 operator’s console - all commands from this point on should be entered there rather than the Hercules console unless otherwise specified.
- Type
yesto the prompt on the 3270 console - A message may appear warning about the time difference since the last boot. Enter
okto accept and continue. - You will be prompted to enter your initials and a reason for booting - you can put anything here.

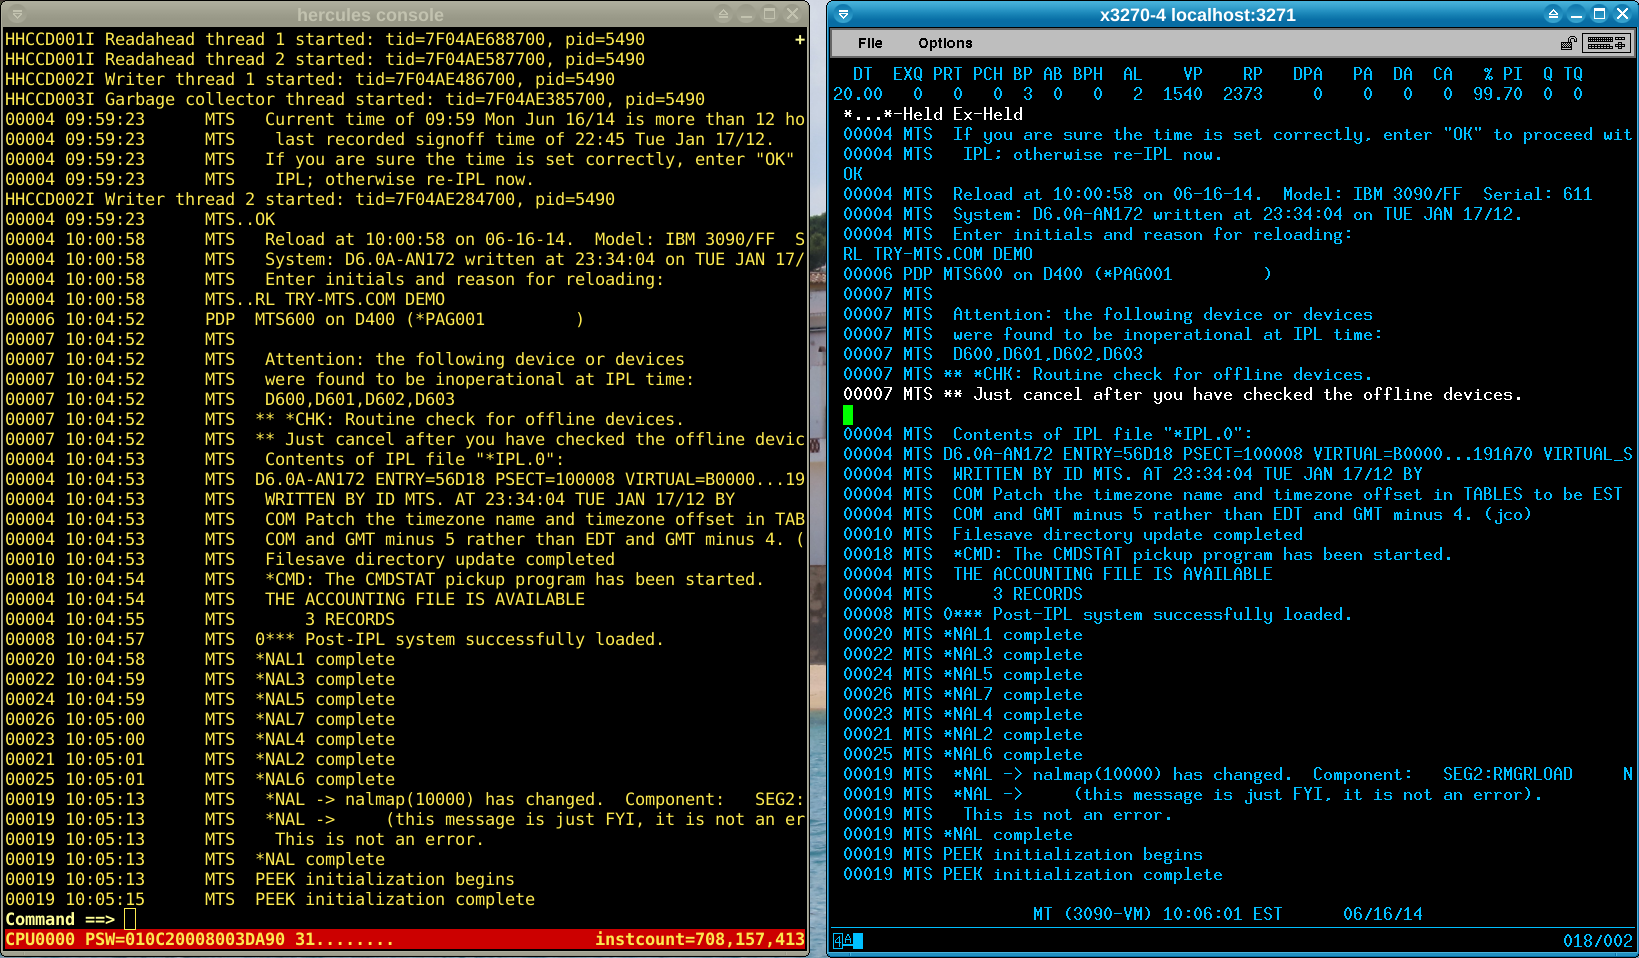
- More messages will appear as the system boots. Eventually it will stop and ask you to check offline devices with this message:
00007 MTS ** Just cancel after you have checked the offline devices.

- This is expected as you do not have (or need) all the disk drives on the system specified in the distribution. To cancel, press the
PA2key on the 3270 operator’s console. Where to find this depends on the emulator - on tn3270 text terminals it may beControl-Afollowed by2; on x3270 terminals tryAlt-2or use the keypad available by pressing the toolbar button on the top right of the terminal. - If that worked, the following message will appear:
*** Cancelled ***
- Wait for the boot process to complete - the final message should be
00019 MTS PEEK initialization complete
Start the batch scheduler and user terminals
- On the 3270 operator’s console, type
HASPto start the batch scheduler and thenMTS *HSP - Start a second 3270 terminal and connect to
localhost:3270. This will act as the user terminal. - On the operator console, type
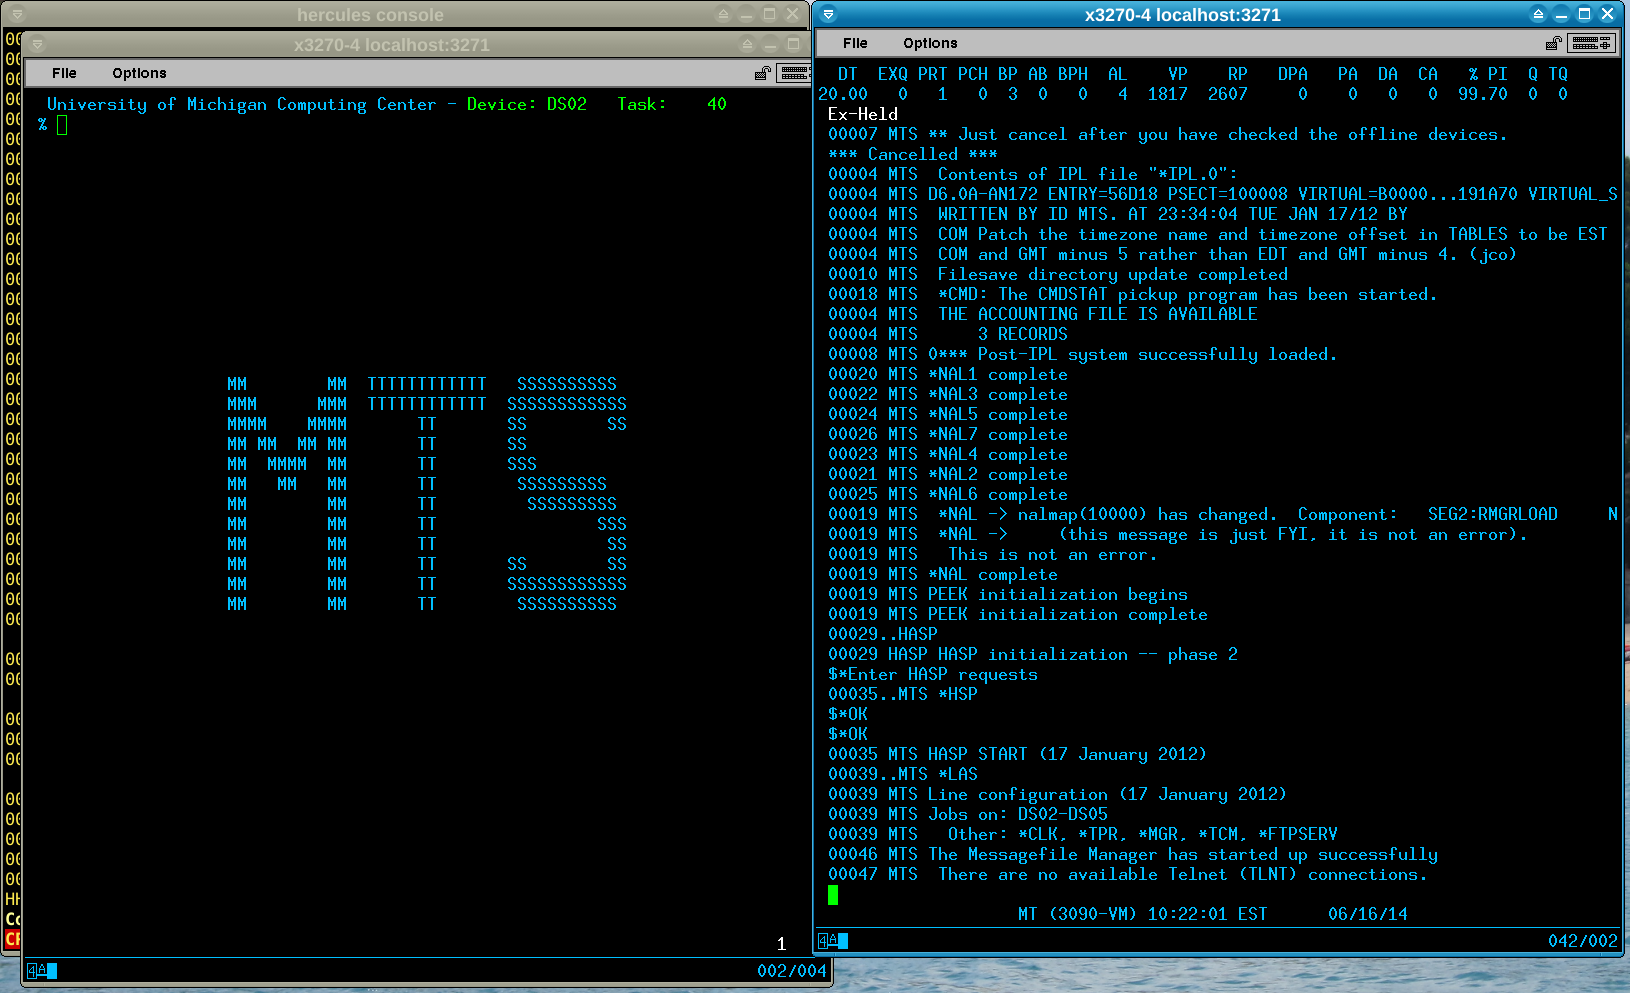
MTS *LASto activate the terminal. - The screen should now look like the below; I have the user terminal to the left of the operator console.

- On the operator console, type
$RELEASE EXto allow the batch scheduler to start jobs.
Ready for use
Congratulations, you now have a running MTS system! Move on to the next section for a brief tour of how to use MTS.
More information
Take a look at the file README-D6.0A.txt in the D6.0A distribution if you have problems during the boot process or want to learn more about what it is doing.
I’ve also written a more detailed look at the start-up process in this post.