Restoring files from tapes
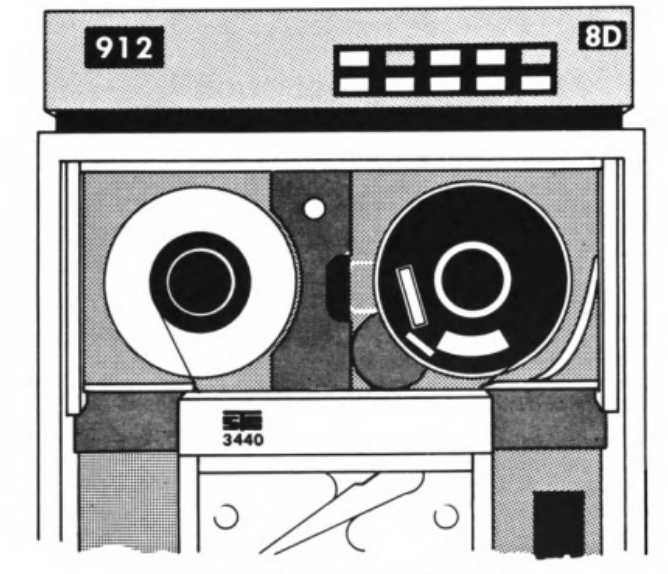 From “Introduction to Magnetic Tapes” by the UM Computer Centre, 1986, archived at the Hathi Trust Digital Library
On the mainframe, tapes were a cheap, high capacity solution to store files that were not always in use. An example from 1993 at UM - a tape costing $7 could store 165MB of data; storing the same amount on disk would cost $168 per month. Tapes are also portable and could be used to exchange data between different computers. The downside was tapes are slow - they had to be mounted manually and as access was sequential it could take several minutes to find a piece of data towards the end of the tape.
Running under Hercules, the main use for tapes is to restore files from the MTS distribution and to transfer files to and from your host OS. Hercules emulates tapes using files on your local disk in AWS format.
In this post we’ll look at how to mount a MTS distribution tape and restore a file. First off we need to know some of the terminology used to describe tapes and tape operations.
Background and terminology
Tape formats and parameters
Tapes come with a number of different lengths, tracks and densities, which together determine their size. Typically MTS at the time of the D6 release was using 9 track tapes with 6250 BPI density. length varying from 100 to 2400 feet. On Hercules these parameters are not important as the tape capacity can be as much as the free disk space you have available, but you will find references to them if you read the original documentation.
Tapes had a snap-in ring which if set in would allow writing to the tape; you will see references to RING IN and RING OUT on MTS tape commands and prompts which translates to read/write and read/only access. It is possible to specify an emulated tape drive as read only on Hercules, which means the tape can only be mounted as RING OUT.
Typically a tape would have a physical label (ie written on the tape case) and a rack ID (used to find the tape from storage). These are not present on Hercules. The volume label, which is written electronically in the header of the tape data, is available on Hercules.
At a low level, blocks of data can be written to tape in various formats depending on the type of data and what other non-MTS system would use the tape. We will restrict ourselves for now to looking at tapes written in a format understandable by *FS, the file save and restore program on MTS.
Tape drives and the mounting process
A mainframe has multiple tape drives. When a user requests a tape, an operator would locate the tape (eg from a rack) and load it into a suitable free drive. The operator would then indicate to the user’s program which device the tape was mounted on, or if any other condition (no free drives, tape could not be found etc). If mounted the user’s program would then read from the assigned tape device.
After the user’s program had finished with the tape it would release it, which would signal to the operator that the tape could be dismounted and stored back in the rack, or physically delivered to the user.
Emulated tapes on Hercules
Tape drives and the tapes initially loaded on them are defined in the Hercules configuration file hercules.cfg. For example, here are two drives from the default config:
	0184   3420   Tapes/d6.0t1.aws   ro  # T904, *FS D6.0 distribution tapes #1
	0185   3420   Tapes/d6.0t2.aws   ro  # T905,  " #2
The first line shows that a model 3420 emulated tape drive is at address 0184. Its name will be T904 on MTS. The initial tape loaded on the drive is Tapes/d6.0t1.aws which is mounted read only (ring out).
It is possible to get Hercules to change the tape loaded in a drive by using the devinit command on the Hercules console, which we will look at in a future post.
Mounting a tape - user request
So after that introduction let’s mount a tape and extract a file. The tape we want is the D6.0T1 tape. From the MTS command line enter the following:
$MOUNT MTS:TAPE1 9TP *T* LBLTYPE=VLO VOL=6.0T1
Let’s go through the parameters:
-
MTS:TAPE1is a dummy name; on a real mainframe you would enter the rack ID where the tape would be found. You can use TAPE1 to TAPE9 here if you are mounting multiple tapes at the same time. -
9TPis the type of tape drive, which will always be 9 track. -
*T*is the pseudodevice that you want the tape to be made available on. You can use any name not already defined here (eg*MYTAPE*would be OK but not*SOURCE*). -
LBLTYPE=VLOindicates the format of the tape, which is Volume Label Only for this particular tape. -
VOL=6.0T1is the electronic volume label.
Note that you don’t specify what tape drive will be used; this is the job of the operator to provide in the next step.
After entering this command MTS will print your tape request and change the prompt to % to indicate it is waiting for the tape to be mounted by the operator.
# MTS:TAPE1 9TP *T* LBLTYPE=VLO VOL=6.0T1
%
Mounting a tape - operator action
Switch over to the MTS operator’s console. You will see a new prompt similar to the below:
00040 MTS ST01: T (1 9TP) (TAPE1) on 9TP, (6250), ring OUT, '' ***************
Respond as follows
OK TAPE1 T904
This tells MTS that the request for TAPE1 can be fulfilled by using device T904, which from the Hercules config file you know is the correct device for the 6.0T1 tape. You can also type other commands to reject or defer the request - see the Operator’s Manual for more detail.
Once you type the OK response, MTS will check that there is a tape in the drive, the ring is set correctly and the volume label matches the request. If all checks out you will see the following:
00040 MTS Mount check OK.Mount (TAPE1) TAPE1 on T904 Ring Out
00040 MTS ST01, TAPE1:Accepted on T904
If instead you got a ’not ready’ message then you will need to bring the tape device back online - from the Hercules config file this is device 0184 so on the Hercules console type devinit 0184.
Once the tape is mounted, back on the user MTS session you will see
*T* (TAPE1): Mounted on T904
Now pseudodevice *T* can be used to access the tape’s contents.
Using *FS
On the user session, start the *FS program with *T* as its parameter:
$RUN *fs 0=*T*
The prompt will change to =. You can use help to see the commands available. Let’s look for the ASMG user guide: type
= list ASMG.USER?
The response you will get is:
= FS list for tape MTS.:TAPE1 on T904. Density= 6250 Volume=6.0T1 Lbltype=VLO O


= File D             File Name           Ver# Type  Lrecl  Size   Dev    Date a
=
=  230   ASMG.USER'S_GUIDE.P.093            1 Seq      80    41  Page  JULY 03,
So this is file 230 on the tape. To restore a copy to your current user’s file area, type restore (230) (the brackets are needed) and then stop to execute the restore. When done, *FS will ask you if you want to release (unmount) the tape and will then return to the command line prompt.
= File 230 "ASMG.USER'S_GUIDE.P.093(1)" ... has been restored to ASMG.USER093
You can now print or view the file ASMG.USER093.
Unmounting
If you didn’t release the tape in the *FS session, you can do it from the command line by typing $release *T*. A message will be printed on the operator’s console telling you to remove the tape, which you can ignore.
If you want to mount the same tape again, remember to devinit the device from the Hercules console.
Further information
Commands to mount and use tapes can be found using online help (eg HELP MOUNT) or MTS volume 1.
A more detailed look at how tapes are formatted and used can be found in MTS volume 19.
Commands that the operator can use to accept or reject tape mount requests can be found in the Operator’s Manual.
In future posts I will look at how to find and restore files from the distribution tapes in more detail and how to create your own tapes.
Updated 14-Apr-2015: corrected LBLTYPE note